
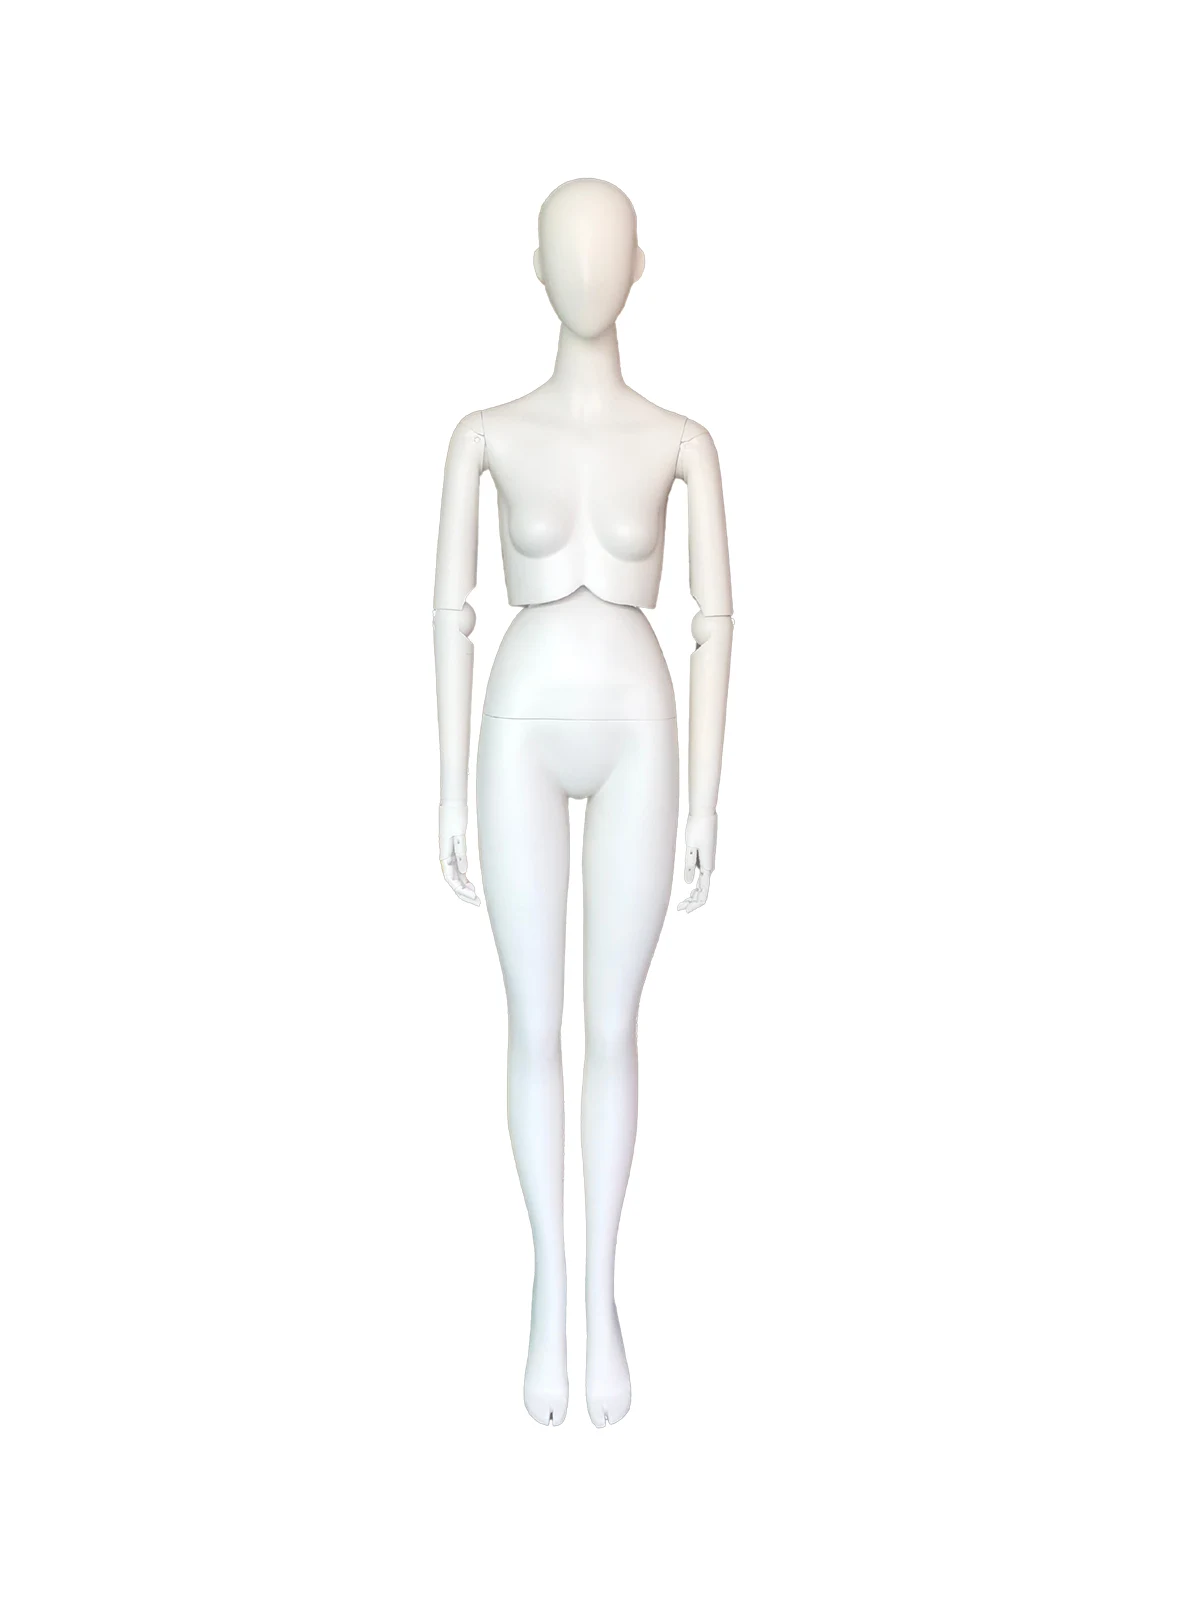
Mannequins for Knitwear: Display Sweaters Without Distorting Their Shape
Choose mannequins for knitwear with suitable shoulder support, dressing access and pose. Use a garment trial to check stretch, snagging and hem distortion.
Mannequins for knitwear should support the intended shoulder line, allow dressing without pulling the neckline and hold a pose that does not tension sleeves or hems. Approve the form with the actual sweaters, cardigans or knitted dresses in your collection, then check their shape over the planned display period.
A knit can fit a form at installation yet look different after hanging under its own weight. Loose structures, long lengths, heavy trims and narrow openings need particular attention. This guide focuses on those knitwear-specific decisions, from the first sample to the changeover routine.
Start with the garment’s construction and weight
Bring the garment team into the brief. Record the knit structure, weight, care instructions, intended silhouette and any known stretching or snagging concerns. A compact fitted sweater, an open-knit cardigan and a heavy knitted dress may need different display approaches even when they share a size label.
The Canadian Conservation Institute’s flat-storage guidance explains that full support reduces the stress of a textile carrying its own weight, and identifies stretchy knits among items that can need flat storage. Its context is museum care; for current retail stock, use the support principle alongside your garment team’s product-specific instructions.
Decide which pieces can be shown on a body, which need a shorter display trial and which are better presented folded. Mannequin display and stockroom storage do not have to use the same method.
Check shoulders, torso and sleeves together
Match the form to the garment’s intended volume rather than stretching a smaller sample across it. The mannequin should support the shoulder and body without creating raised points at the sleeve head, flattening a designed drape or holding ribbing under visible tension.
| Garment feature | Form or setup to review | Warning sign during the trial |
|---|---|---|
| Lightweight shoulder construction | Shoulder contour and width | Raised ends or a displaced shoulder seam |
| Narrow or high neckline | Detachable head and dressing sequence | The opening must be stretched to pass over the form |
| Long or heavy sleeves | Arm position and sleeve support | Sleeves pull the shoulder or hang with increasing length |
| Long cardigan or dress | Body length, pose and lower clearance | Hem growth, twisting or contact with the floor |
| Loose or open structure | Surface, seams and connector edges | Fibers catch during dressing or removal |
| Ribbed cuffs and waist | Hand clearance and torso dimensions | Ribbing is held open or visibly distorted |
Use the mannequin measurement guide to document dimensions. A useful fit reference includes shoulder width and torso length as well as the main circumferences.
Choose a dressing route before choosing a pose
Ask the supplier to demonstrate how heads, arms and hands detach and reconnect. A removable head can make a narrow neck easier to manage; detachable hands can reduce the opening a cuff must pass over. The actual connector design and assembly order determine whether those features help.
Support the garment while dressing and remove rings or other items that could catch yarn. Keep exposed fittings away from the knit. If a piece cannot be installed without pulling its opening or dragging it across hardware, change the configuration or presentation method.
Fabric-covered surfaces and painted shells each need a contact check. A textured covering may grip loose yarn; a damaged painted edge may snag it. Assess the finished sample rather than assuming one material is suitable for every knit.
Use relaxed poses that preserve the product line
Start with a neutral pose and add movement only where it helps the garment. Bent elbows, raised arms or a wide stance can place a knit under tension, especially at the underarm, front opening or lower hem. Check the back and side views as well as the customer-facing view.
Adjustable arms offer flexibility, but their range is not a reason to use an extreme position. The pose selection guide explains the broader merchandising choices. For knitwear, make the garment’s relaxed silhouette the approval reference.
Run a display trial and record what changes
- Record the starting condition. Photograph the approved garment flat or in its garment-team reference state, using consistent lighting.
- Document the dressed sample. Record the body model, arm position, garment size and installation method.
- Agree observation intervals. Check immediately, at an early checkpoint and across the intended display period.
- Review the same areas. Compare shoulders, sleeve length, front opening, waist and hem using consistent reference points.
- Assess after removal. Let the piece rest as directed by the garment team and record any remaining distortion.
- Approve a specific combination. Link the decision to that garment, form and pose.
There is no universal safe display duration for every knit. This is a suggested retail approval process, not a laboratory test or a guarantee against stretching. If a change appears, shorten the trial, revise the support or select a folded presentation.
Coordinate the mannequin, rail and folded assortment
Use the mannequin to show a complete look and the adjacent assortment to help customers find the product. Keep a suitable folded area for pieces that should not stay suspended. Where a rail is used, approve its hanger separately; a successful mannequin trial does not approve the hanger.
Our guide to preventing hanger marks covers rail contact and support checks. Coordinate the surrounding fixtures through the props and risers guide.
Frequently asked questions
Can every sweater be displayed on a mannequin?
No single setup suits every knit. Assess construction, weight, garment instructions and the result of a realistic display trial before approving a piece.
Are fabric-covered mannequins always better for knitwear?
Suitability depends on the finished surface, fit and dressing route. Check for catching, friction and exposed hardware with the actual knit.
How often should a knitwear display be changed?
Set the interval from product guidance and observation. Inspect the garment during display and revise the interval if shoulders, sleeves or hems begin to change.
Should clips or pins correct a poor fit?
Avoid using concentrated tension to force the silhouette. Ask the garment team to approve any restraint; choose another form or presentation when the fit is unsuitable.
Prepare a knitwear display brief
Share garment photographs, measurements, construction details, desired poses and quantities through XINTU’s contact page. Include the dressing and observation trial in the sample approval plan so the display can be assessed before a wider rollout.