
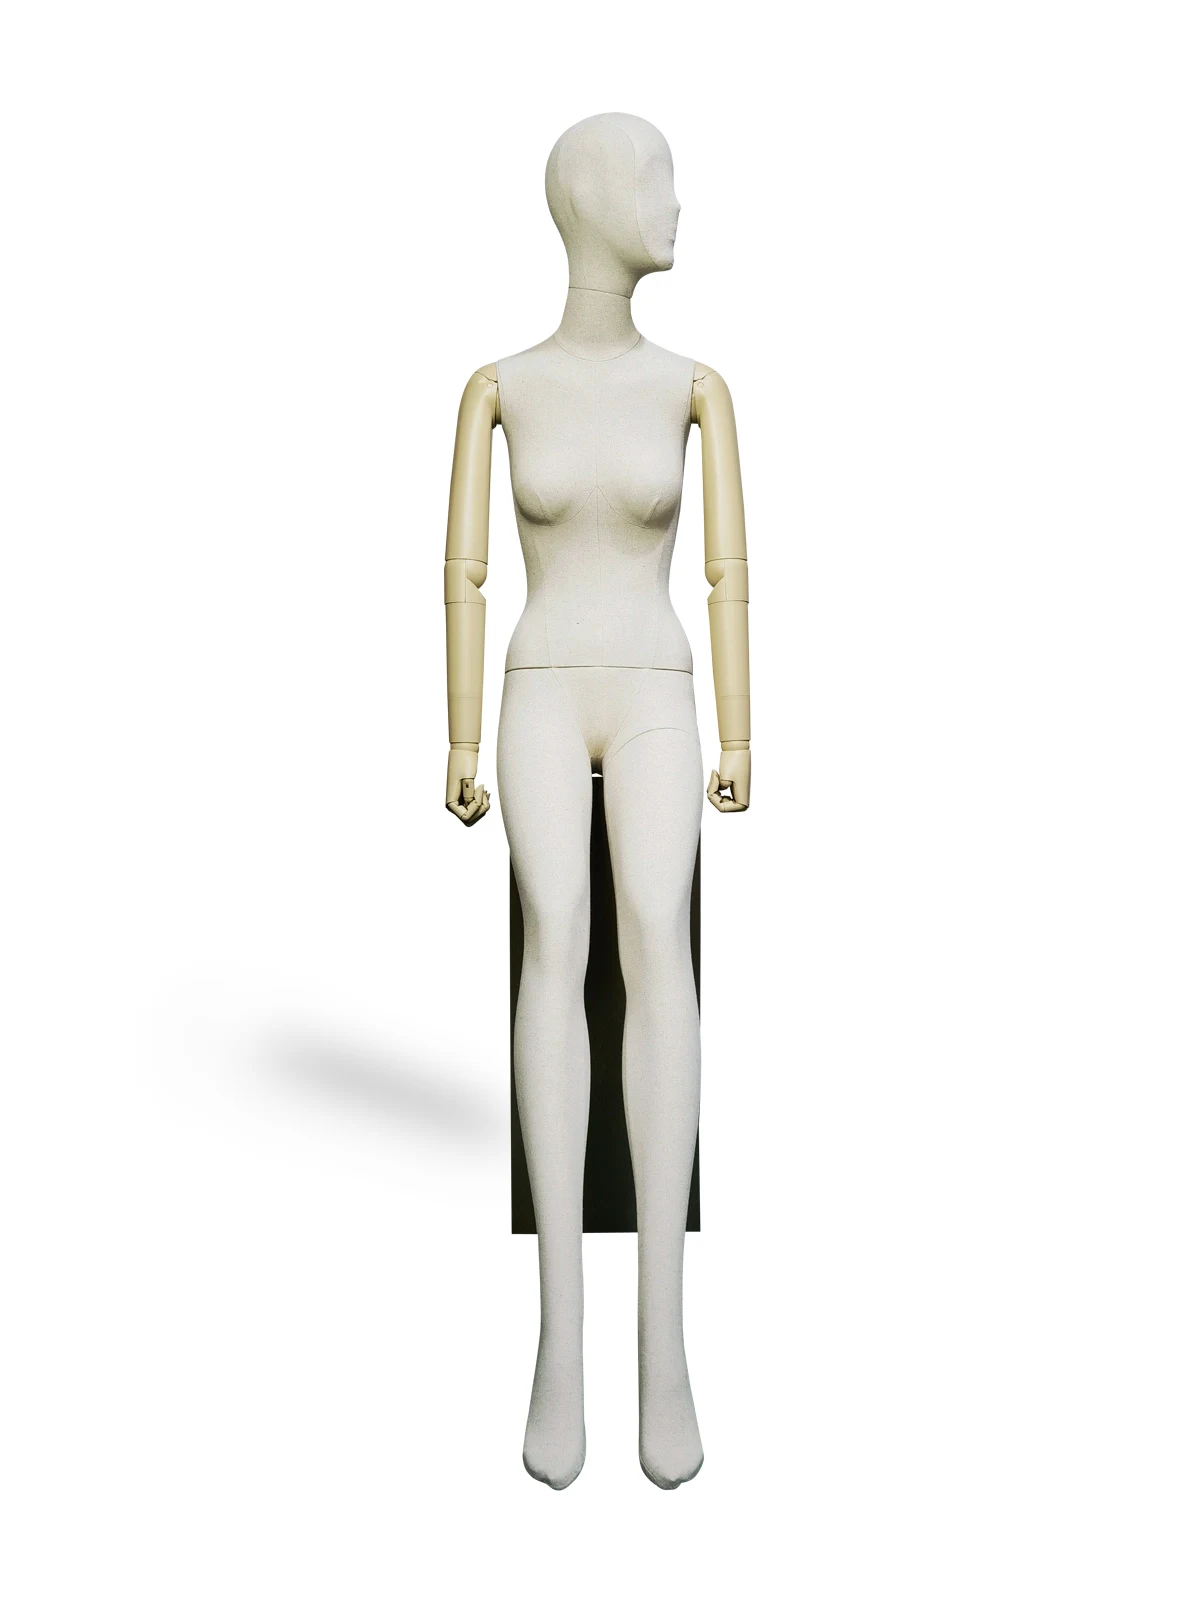
Seated Mannequins: Planning the Seat, Garment and Display Footprint
Plan seated mannequins around seat height, support points, garment drape and floor space, with a practical approval checklist for retail displays.
A seated mannequin should be planned together with its seat, support system and dressed outline. Confirm where the body is intended to make contact, how it is secured and how far the knees, feet and garments extend beyond the seat. Approve that complete arrangement before ordering or building the fixture.
Sitting changes the display problem. A trouser leg bends, a coat falls around the seat, and a hand may occupy the space needed for a bag. The seat can become a prominent part of the visual story. This guide explains how to develop that arrangement as one installation, rather than choosing a seated body and finding furniture afterwards.
1. Define what the seated pose needs to show
Choose a seated pose because it helps explain a product or collection. A casual vignette might show denim with footwear; a low window might use a seated figure to create a different height; a grouped display might need a quieter supporting character.
Identify the details that must remain visible: trouser shape, hem length, shoe profile, a jacket opening or an accessory. A pose that looks convincing without clothing may hide those details once dressed. Our pose selection guide compares the broader families; here the approval question is whether a specific seated arrangement serves the garments.
2. Ask for a seat and support drawing
Request a dimensioned side view showing the intended seat surface, body contact regions, knee position, foot position and any fixing. Ask which features are supplied with the mannequin and which belong to the fixture contractor.
A rigid mannequin does not settle into a chair like a person. The seat height and depth must suit the sculpted position. A cushion also changes the installed geometry: its appearance and compression need to be considered in the agreed setup.
| Item | What to confirm | Approval evidence |
|---|---|---|
| Seat surface | Height, depth, width and intended contact areas | Dimensioned side and front views |
| Support and fixing | Load path, restraints and installation method | Supplier instructions for the complete configuration |
| Feet and legs | Position relative to the floor or plinth | Dressed sample in the intended seat |
| Garment clearance | Space around seat edges, knees and hems | Photographs with representative garments |
| Service access | How staff assemble, dress and remove the form | Demonstrated installation sequence |
For a bench or shared plinth, confirm the whole assembly with the responsible supplier. Furniture being suitable for a seated person does not establish the fixing arrangement for a display form. The bases and stands guide introduces support options; the seated configuration still needs its own confirmation.
3. Measure the complete dressed footprint
Mark out the seat and add the forward projection of knees, shoes and feet. Then add elbows, hands, accessories and any fabric extending beyond the body. This is the outline customers and store teams encounter, even if the fixture itself is compact.
Review the approach from both directions and the space needed for installation. A seated figure can use less vertical space while extending farther into the floor area. Apply the store’s approved circulation requirements to the actual outline, using our store-flow planning guide as a layout reference.
4. Dress the sample before finalising the seat
Try representative trousers, a skirt or dress if relevant, outerwear and the intended footwear. Check the seated waistline, knee folds, lower-leg drape and how fabric meets the seat edge. Review the front, side and back.
Long coats may need room to fall beside the seat. A skirt may need a different leg arrangement to show its intended length. If clothing is trapped between a body section and a fixture, change the installation sequence or configuration rather than pulling it into place.
Stretch-prone garments need observation during display as well as a check at installation. Our knitwear display guide explains how to look for changes in shoulders, sleeves and hems.
5. Plan assembly and changeovers
Ask which parts detach and whether dressing takes place on the seat or before the body is installed. Agree the handling points and staff requirements with the manufacturer. Protect the finish from the seat edge and keep tools or exposed fittings away from garments.
Walk through a full changeover with the store team. Include moving the fixture if that is part of the campaign process. Record the sequence and the component references, especially where the body shares a visual style with standing forms but uses different fittings.
6. Compose the seated figure within the group
Use the lower height to make a deliberate relationship with surrounding figures. A standing mannequin behind it can frame the scene, but should not hide the seated outfit. A nearby riser can connect an accessory to the story without making the body hold it.
View the composition from customer distance. Check that the seat supports the campaign language and that its color or bulk does not overpower the clothing. Our grouping guide provides a framework for relationships between figures.
Before installation: a joint sign-off
- Mannequin supplier confirms the intended support, seat geometry and fixing instructions.
- Fixture team confirms the supplied seat and any required installation work.
- Garment team approves the dressed appearance and contact with the seat.
- Store team confirms access, handling and the changeover sequence.
- Visual merchandising records photographs, dimensions and the approved location.
This checklist is a proposed coordination workflow. It does not replace engineering assessment or the suppliers’ instructions for a particular assembly.
Frequently asked questions
Can a seated mannequin use any chair?
Only a chair or seat confirmed to suit the body’s geometry and support method. Review the complete assembly with the mannequin and fixture suppliers.
Do seated mannequins save floor space?
They can reduce display height, but knees, feet and the seat may create a deeper footprint. Measure the dressed arrangement before deciding.
Can a standing mannequin be converted to sitting?
Use only a form designed and approved for that configuration. Adjustable arms do not make a rigid standing torso and legs suitable for a seated installation.
Develop the arrangement together
Send XINTU the intended garments, a seat reference, available dimensions, viewing direction and quantity through our project inquiry page. Include the support drawing and dressed-sample review in the brief so the body and fixture can be coordinated before production.