
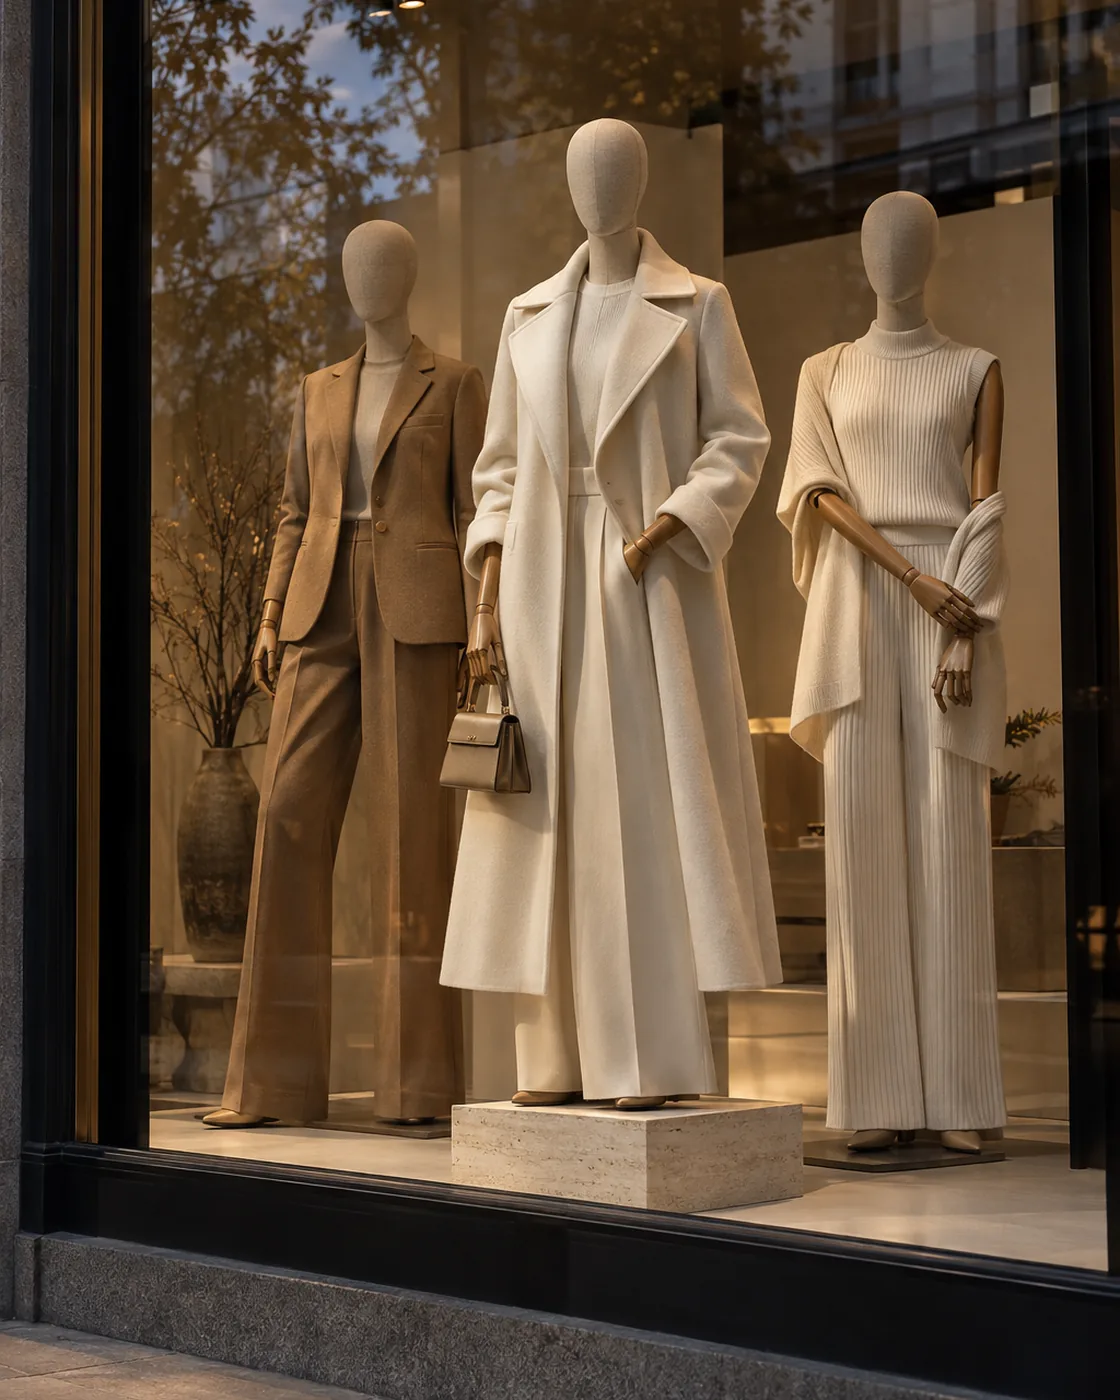
Holiday Window Displays: A Planning Timeline for Retail Teams
Plan holiday window displays with a working timeline: concept, inventory audit, mannequin and prop orders, lighting tests, installation, refresh and January strike.
A strong holiday window is planned backwards from the installation date: concept, mannequin and prop orders, lighting tests and a rehearsal install all need time before opening night. Teams that start early can order and test properly; teams that start late tend to reuse whatever is in storage and hope it fits the story.
This timeline breaks the season into phases. Adjust the timing to your own lead times, store count and installation windows. If you are reading this mid-season, use it to plan your refresh and January changeover, and to set up next year’s program.
Key takeaways
- Plan backwards from the installation date, allowing for approval, production, shipping and mock-up.
- Audit and refurbish existing mannequins and props before placing new orders.
- Mock up the window and test it at night with the real lighting.
- Send stores an installation pack and collect photos to check consistency.
- Schedule a mid-season refresh and a January strike with inspection and storage.
- XINTU reference: MOQ 10 pcs per style; samples typically 1–3 weeks before bulk production and sea freight.
1. Set the story and the commercial goal
Begin with what the window needs to achieve: drive gifting, launch a capsule, introduce a partywear edit or build brand image. One clear goal shapes every later decision, from mannequin count to lighting.
The commercial stakes are significant. The National Retail Federation forecasts that US retail sales in November and December 2026 will grow 4.2% over 2025 to about $1.013 trillion, and defines the holiday season as 1 November to 31 December (NRF 2026 holiday forecast).
Agree on a single story a passer-by can understand in a few seconds. Then define how you will judge success, such as footfall, sales of featured products or social mentions. Our window performance test plan shows how to set this up before installation.
2. Audit what you already own
Before ordering, check storage. List mannequins by type, pose, finish and condition; check arms, bases and fittings; and note props that can be reused or refinished. Look for:
- Forms that need repair or new covers. Our repair and refurbishment guide explains the options.
- Gaps in poses or sizes the story requires.
- Bases or fittings that do not suit the window floor.
The audit often shows that a smaller new order, combined with refurbished stock, covers the concept.
3. Specify and order mannequins and props
Holiday stories often call for movement and grouping: figures in conversation, a seated figure beside a tree, a family scene. Choose poses that support the story, and confirm quantities, including spares for the busiest stores. Useful references:
- Window display mannequins for choosing forms that work behind glass.
- Mannequin poses and postures for building movement into the scene.
- Seated mannequins if the scene includes a seated figure.
- Seasonal mannequin quantities for multi-store planning.
Holiday palettes lean on rich color. A statement cover such as deep green or burgundy velvet can carry the theme with simple styling; see our velvet mannequin guide. For gifting stories built around jewelry and watches, pair the figures with hand display stands at the front of the window. Confirm production and shipping times early; our article on MOQ, samples and lead times explains what affects them.
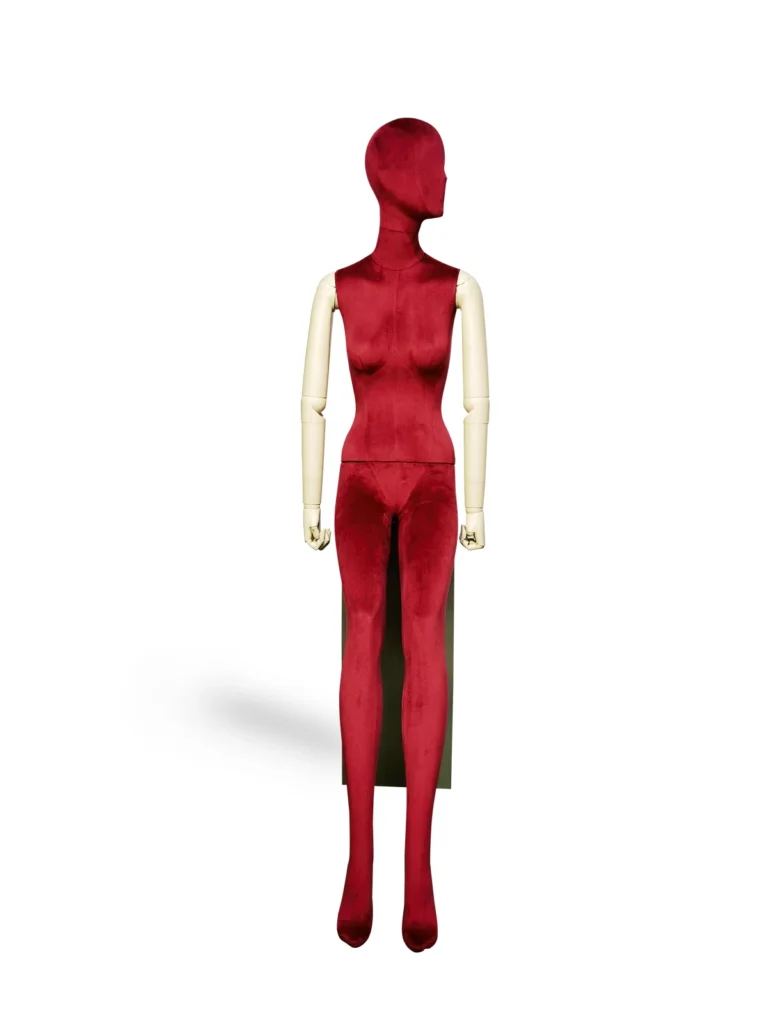
As a planning reference, our standard female mannequins are 180 cm tall with 85 / 64.5 / 91 cm bust, waist and hip (male half-body forms 100 / 80 / 97 cm), and all sizes can be customized. The MOQ is 10 pcs per style and pre-production samples typically take 1–3 weeks, so build sample approval, bulk production and sea freight into the timeline before your installation date.
4. Mock up the composition
Build a full-size or scaled mock-up before rollout. Place the hero mannequin first, then supporting figures, props and signage. Check the hierarchy from the pavement, at night as well as during the day.
Holiday windows easily become crowded. Protect negative space so the featured products stay readable. Our guides to visual hierarchy in window displays and mannequin grouping provide a framework, and props and risers help you build height without clutter.
5. Test lighting for long evenings
In many markets, holiday windows are seen mostly after dark, so lighting does much of the work. Test the mock-up with the actual fixtures:
- Key light on the hero outfit and featured products.
- Color temperature that suits the palette without distorting garment colors.
- Glare and reflections on the glass from the customer’s viewpoint.
- Timers that keep the window lit while footfall is high.
Long hours of window lighting and daylight also fade garments and mannequin covers. The Canadian Conservation Institute identifies UV in daylight as a major cause of textile dye fading (CCI Note 13/1), so rotate sensitive pieces and consider UV-filtering glazing or film.
Decorative lights add atmosphere but can wash out garments. See our retail display lighting guide and color in visual merchandising.

6. Write the installation pack
For multi-store rollouts, send stores a clear pack: a photo of the approved window, a floor plan with mannequin positions, styling notes for each figure, prop and lighting placement, and an installation sequence. Include safe handling instructions for mannequins and heavy props, and a contact for questions on the day.
Ask each store to return a photo after installation so the visual team can check consistency and correct issues early. Our mannequin dressing guide is a useful attachment for store teams.
7. Plan the mid-season refresh
The holiday period has distinct phases: early gifting, peak party season and the final days before the holiday. A planned refresh keeps the window relevant without a full rebuild. Swap featured products, restyle one or two figures or change accessories, while keeping the core set and lighting in place.
8. Strike, store and review in January
When the season ends, the strike is the start of next year’s planning. Clean and inspect mannequins before storage, record damaged parts and photograph each window for reference. Our storage and handling guide covers packing between seasons, and a mannequin asset register keeps track of parts and repairs.
Review results against the goals you set and note what worked. Those notes, together with an updated inventory, make next year’s concept and order much faster.
A holiday window checklist
- Story and commercial goal agreed.
- Inventory audit completed and repairs booked.
- Mannequins, props and spares ordered with confirmed delivery dates.
- Mock-up reviewed by day and by night.
- Lighting tested and timers set.
- Installation pack sent and store photos returned.
- Refresh plan and January strike scheduled.
Frequently asked questions
When should we start planning holiday windows?
As early as your lead times require. Work backwards from installation, allowing for concept approval, production, shipping, mock-up and rollout. Custom mannequins and props need the most time.
Can we reuse mannequins from last year?
Usually, if they are in good condition and suit the story. Refurbishing covers, arms or bases can refresh existing forms at a lower cost than a new order.
How many mannequins should a holiday window use?
Enough to tell the story clearly, and no more. A focused group with one hero figure is usually easier to read than a crowded scene.
What is the minimum order for holiday window mannequins?
At XINTU the MOQ is 10 pcs per style, with samples typically ready in 1–3 weeks. Allow additional time for bulk production and sea freight before installation.
Plan your next holiday window with XINTU
Share your concept, window dimensions and store count, and we can help you specify mannequins, finishes and bases that suit the story and arrive on time. Explore our custom mannequin service or contact our team.